Create your business page with AI: from description to publication
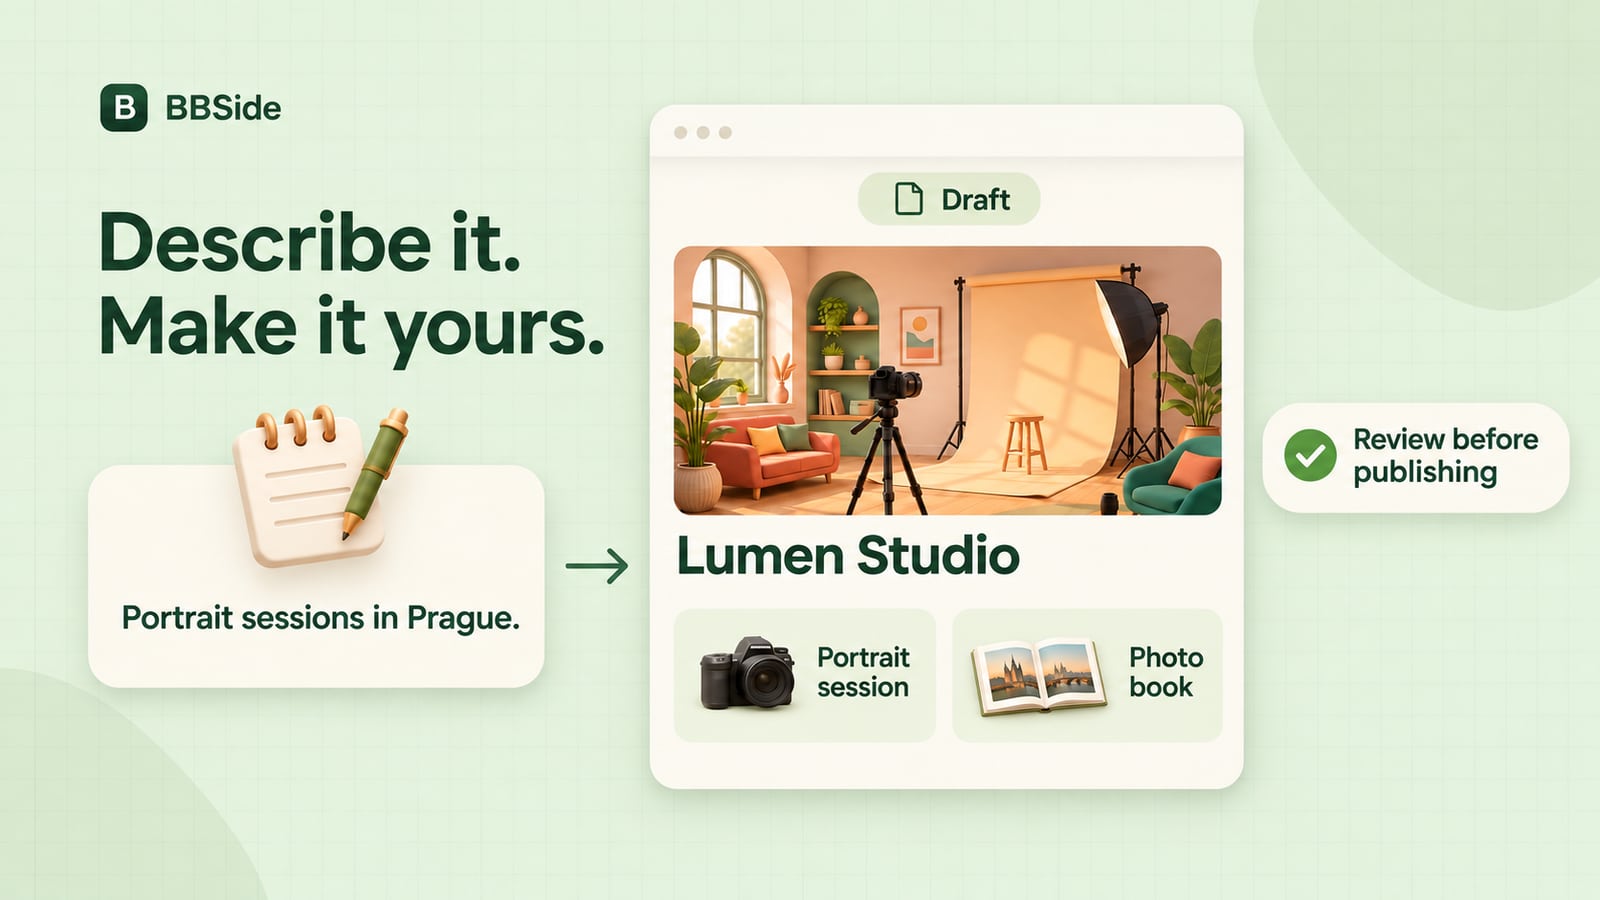
Turn a description of your business into a BBSide page draft, review the details, set up availability, and publish a page you are ready to share.
You probably already explain your business in conversations: what you do, who it is for, how much it costs, and when you are available. That explanation is a useful starting point for your online page, too.
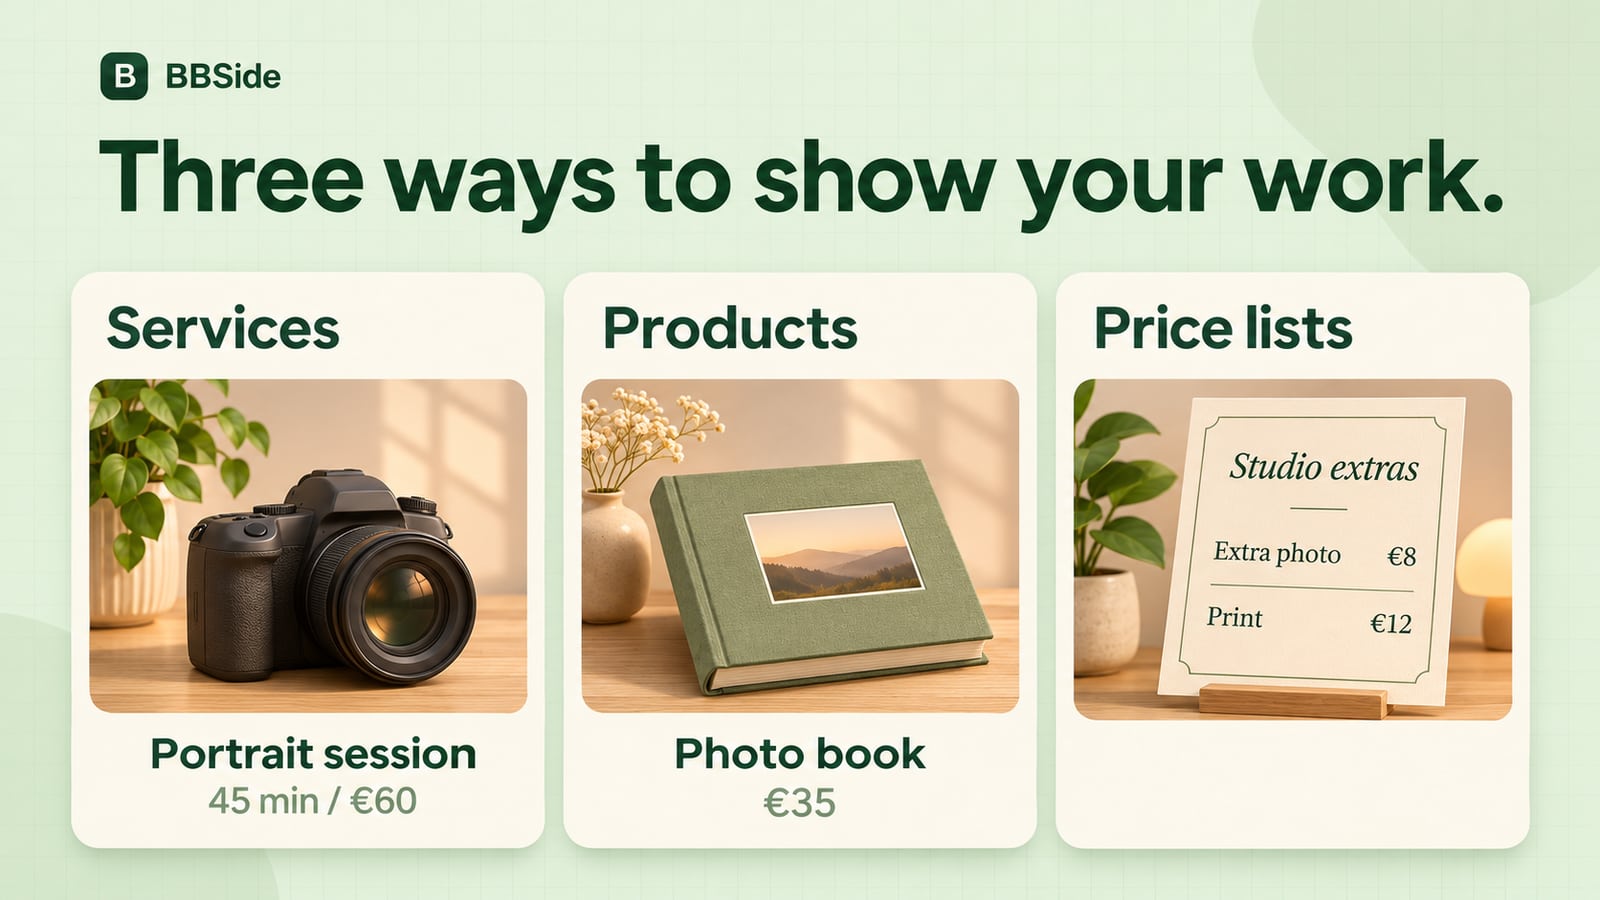
BBSide can turn that description into a business page with your information, services, and products. You can then add photographs and make the page your own before sharing it with customers.
This guide follows Lumen, a fictional photography studio, with example prices and opening hours.
1. Gather the facts you want on the page
Before opening the generation screen, collect a few details:
- Your business name and a sentence about what you do.
- Your city, service area, and address if customers visit you.
- Your main services, with prices, currencies, durations, and what is included.
- Any products you sell, with prices and available quantities.
- Your usual working schedule and any appointment restrictions.
- Contact information you actually want to share publicly.
You can start with your main services and products and add more later.
If you are unsure what belongs on the finished page, start with our small business page checklist.
2. Sign in and describe the business
Creating and managing a business page requires a BBSide account. Sign in, complete your profile, and confirm your email if prompted before using page generation.
Describe your business as you would to a new customer: what you do, where you work, and what you offer.
For example:
I run Lumen Daylight Studio in Prague. We offer 45-minute portrait sessions for €60 and 90-minute product shoots for €120. The portrait sessions include six edited photos, and we also sell printed photo books for €35. We're open Monday to Friday, from 9 to 5.
3. Make the page your own
Your business information is now together in the dashboard, where you can look it over and edit anything you want. Add photographs of your business and your work, create a gallery, and choose a colour theme for your page's cover.
4. Set up your calendars
You can set up two independent types of calendar:
- Opening hours show your actual business hours on your public page, in the Location & Opening Hours section. Each business can have one opening-hours calendar.
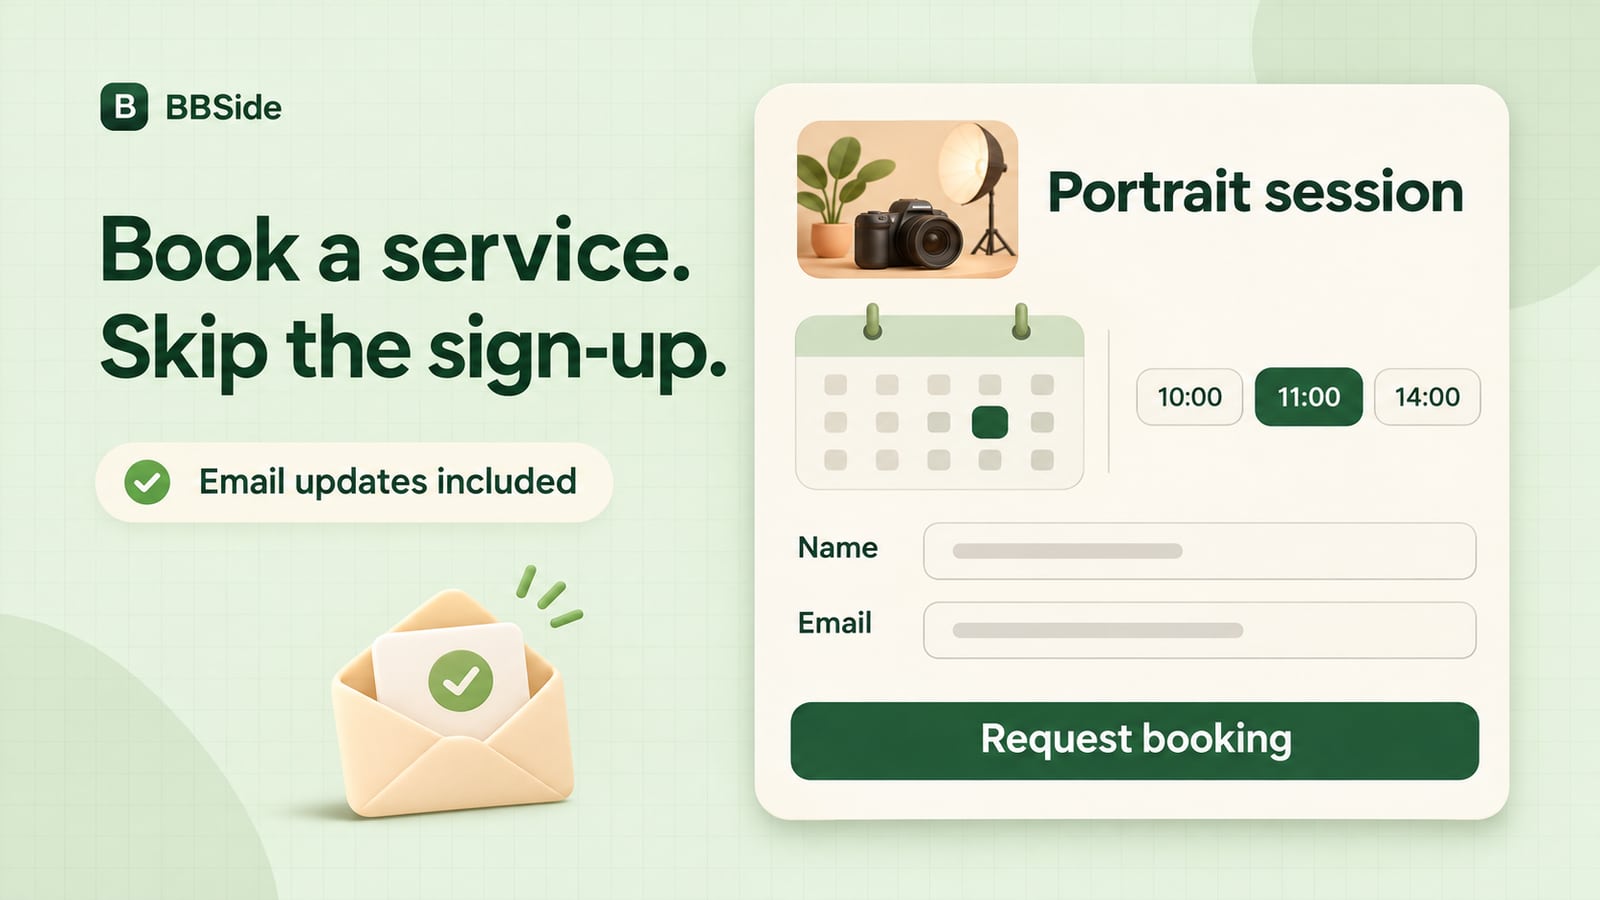
- Booking calendars let customers choose a time for a service. You can have several, for example one for each person working in your business. The number available depends on your subscription plan.
You can set up each booking calendar individually, choose its schedule, and assign as many of your services to it as you need. Each calendar has its own availability, so a booking with one employee does not take that time away from another.
Booking rules let you set an advance deadline. For example, you can require customers to book at least 12 hours before their appointment. Apply a rule to a calendar, a service, or a particular service within a calendar.
5. Preview, publish, and test the public link
Preview the page before publishing. Read it from top to bottom on a phone, including the offering details and contact information. The publishing checklist is useful here.
Review any publishing checks shown in the dashboard, resolve missing setup, and publish when the page is ready. Creating the draft alone does not make it a published page.
Open the public link in a separate browser session to see the customer view. If you want to test a booking request, use a guest session or a separate customer account: the business owner's own account cannot book its business.
You can then share the page with customers, add it to your social profile, or send a direct link to a particular offering or price list.
6. Keep the same page up to date
Once your page exists, use the dashboard to maintain it as the business changes. Update prices, replace photographs, adjust availability, and revise descriptions on the existing page.
The AI assistant can also help with supported changes through chat, within your account's available allowance. Review the result of a change just as you reviewed the initial draft, especially when it affects a price or schedule.
If your next step is taking appointments, continue with booking a service without requiring customer registration.